This shop has been compensated by Collective Bias, Inc. and its advertiser. All opinions are mine alone. #MNYLookstoLove #CollectiveBias
When it comes to contouring, it’s usually done for a night out or for a special occasion since it’s so heavy and takes time to get it right. It couldn’t possibly look good during the day time…right?
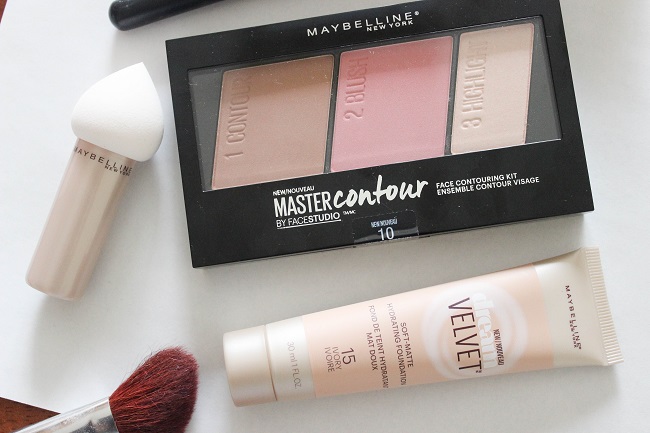
What if I told you that it’s possible to achieve the contour look while still looking natural and not wasting a bunch of time getting ready in the mornings? Yup, I’ve actually been contouring in the mornings before heading to my college classes and I’m obsessed. I’m usually not one for a full face of makeup for class but it’s just so easy to do. When I got the opportunity to collaborate with Maybelline and try their Master Contour palette, Dream Velvet foundation, and Dream Velvet blender, I knew this would be the perfect time to share my tips. Plus Valentine’s Day is right around the corner so why not start practicing your looks to love for the special night?
Step 1: Apply Foundation
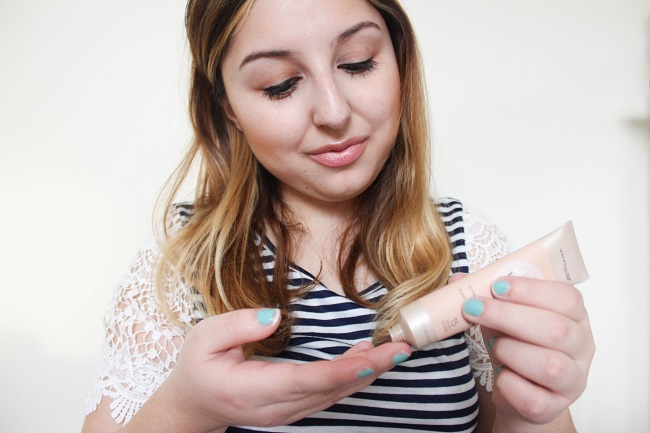
Before contouring, apply foundation which will serve as your base and help the contour powder glide more smoothly on your face. I recently tried the Dream Velvet foundation and loved how moisturizing it is since it’s a gel-whipped foundation. It’s medium coverage so it looks a little more natural on the skin while still covering your trouble areas. I recommend squeezing some onto your fingers and then patting it on your face.
Step 2: Blend Your Foundation
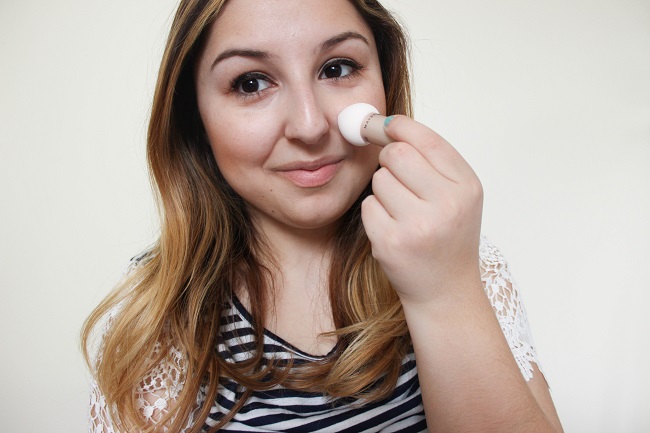
In order to blend the foundation and create a smooth look without any obvious lines, use the Dream Velvet blender which reaches difficult areas such as the corners of your nose and glides over large areas in seconds. The best part is that it’s easy to wash and re-use again and again.
Step 3: Contour
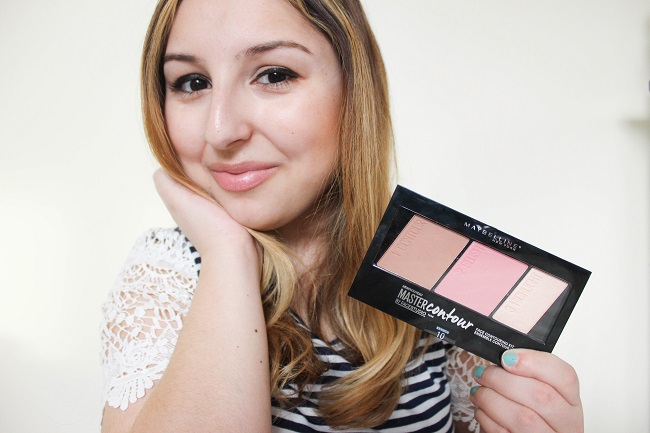
For a natural look that’s quick and simple I recommend using powder instead of cream. Since contouring requires bronzer, blush, and highlighting powder, I recommend buying a palette such as the Maybelline Master Contour Palette which contains all three. I went with the #10 palette which contains the lightest shades if you have ridiculously pale skin like me but they are available in darker shades.
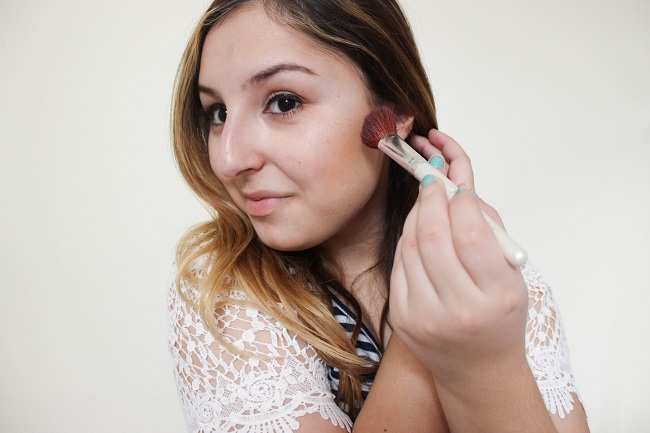
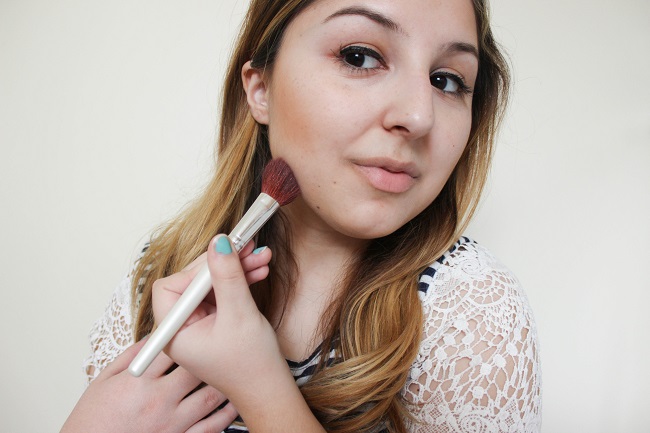
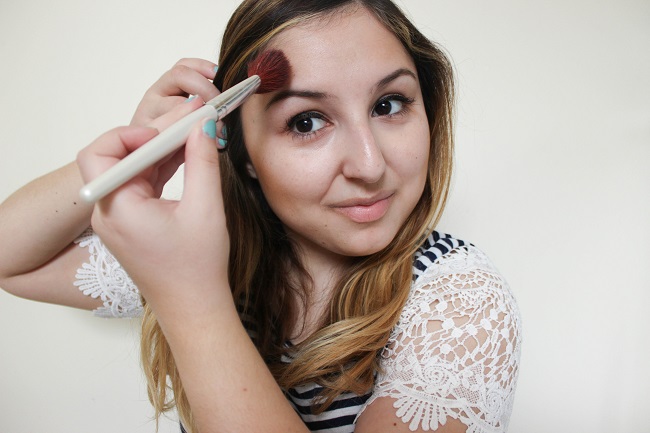
I usually start by contouring my cheekbones first and applying lightly. It’s easier to go back and build up the color than to apply too much at once and have to remove half your makeup off your face! Make sure to blend any harsh lines in order to make it look as natural as possible. Then, apply it to your jawline and the sides of your forehead. I usually skip contouring my nose since it takes too much time and doesn’t look as natural during the day time.
Step 4: Blush
Next, I apply blush to the apples of my cheeks in order to give my face a nice glow especially since it’s winter and my skin looks awfully dull.
Step 5: Highlight
The last step is to highlight right above the apples of your cheeks, middle of your forehead, and if you want to achieve the look of bigger lips then your cupid’s bow. What I love about the highlighter in the Master Contour palette is that it doesn’t contain too much shimmer and blends in beautifully into your skin.
There you have it! A natural looking contour that’s perfect for school, work, or even a daytime Valentine’s Day date.
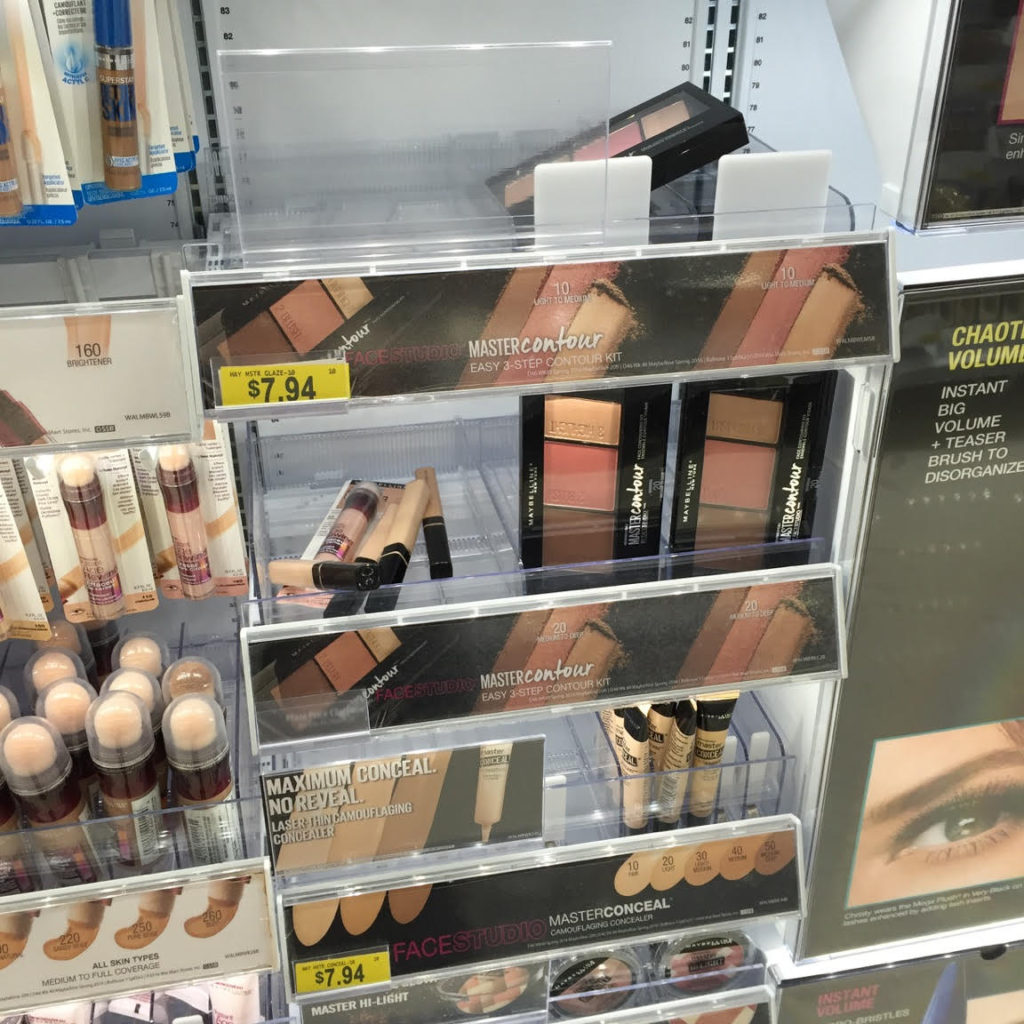
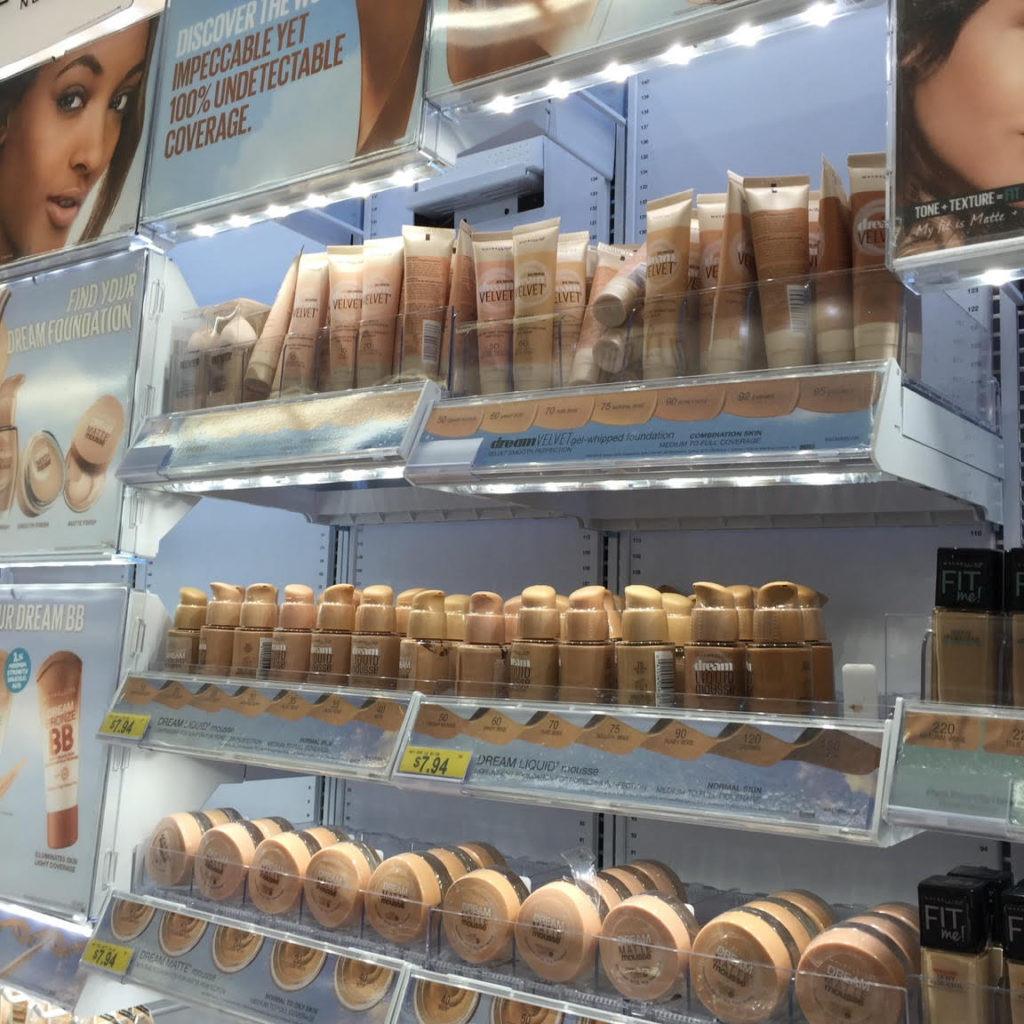
If you want to try the Maybelline products that I used in this post, check out the beauty aisle at your nearest Wal-Mart. Who says you can’t achieve a perfect contour with budget-friendly products?
Hope you enjoyed this post! Thanks for reading,
-Ruya




I've been playing around with contouring lately too, but still don't have my technique or products down pat. This palate seems like it makes the whole process a lot easier! Gorgeous look!
Jackie
Something About That
I can never figure out how to contour! This post was super helpful! The perfect daytime look.