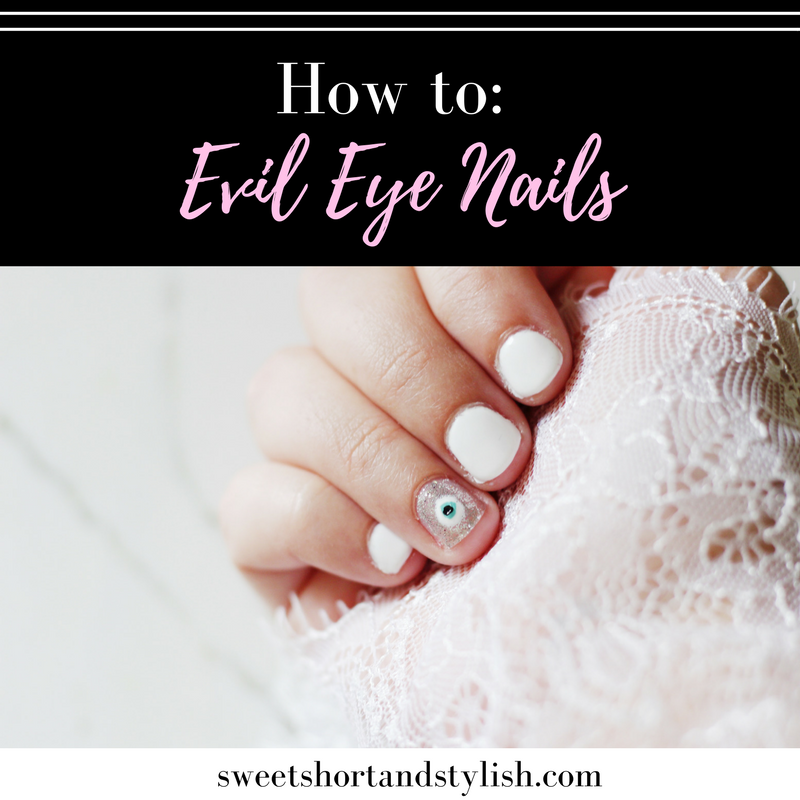
In Turkish culture, the evil eye has always been an important symbol. If you ever get a chance to go to Istanbul or to any other popular cities in Turkey, the first thing you’ll notice is that the evil eye is everywhere. From jewelry to home decor, Turkish people call it the “nazar boncugu” and believe it’s a way to get rid of bad luck. Last night while I was doing my nails and trying to think of a way to glam up my usual mani, I thought why not the evil eye?! It’s super-simple, quick, and of course is the perfect good luck charm! Here’s how I did it:
What You’ll Need:
Base coat, white nail polish, black nail polish, light blue nail polish, silver glitter nail polish, loose silver glitter, and a top coat. Also, a dotting tool/bobby pin/toothpick.
Step 1: Apply Base Coat & Paint Your Nails White
I decided that I wanted the evil eye to stand out so I decided to let my ring finger be the accent and painted the rest of my fingers white. Of course it doesn’t have to be white (I was also thinking of painting them navy blue which is just as pretty!) but since it’s spring I thought it would be a refreshing color.
Step 2: Paint The Accent Nail Silver
Once again, it doesn’t have to be silver but that’s just the color that I thought would make the evil eye stand out more and goes nicely with the white. Since most silver glitter nail polishes aren’t opaque (and takes thousands of coats!), I decided to simply paint it one coat of silver and then waited a few seconds for it to get tacky (but not completely dry) and very gently patted on some loose silver glitter.
Step 3: Paint The Evil Eye
Now for the fun part! With a dotting tool (I got myn from Sally’s!) or even a toothpick or a bobby pin, draw a large white dot. Wait until it’s completely dry and now with a light blue color, draw another smaller dot inside of that one. Lastly, once that’s dry, draw an even smaller black dot which resembles an eye. That’s it!
Step 4: Top Coat
Make sure to wait until your mani is completely dry before sealing everything with a top coat. Afterwards, since I’m super impatient, I like to use OPI’s RapiDry Nail Polish Dryer which is a product that I never seem to hear it about too often but it cuts the drying time in half so you can be on your way! I linked this and other products that I used below.
Yup, it’s that simple. I hope you gals liked this post and let me know if you would like to see more nail tutorials like this on the blog!
-Ruya
SHOP THE POST

